The Colonial Williamsburg Mission
"That the future may learn
from the past."
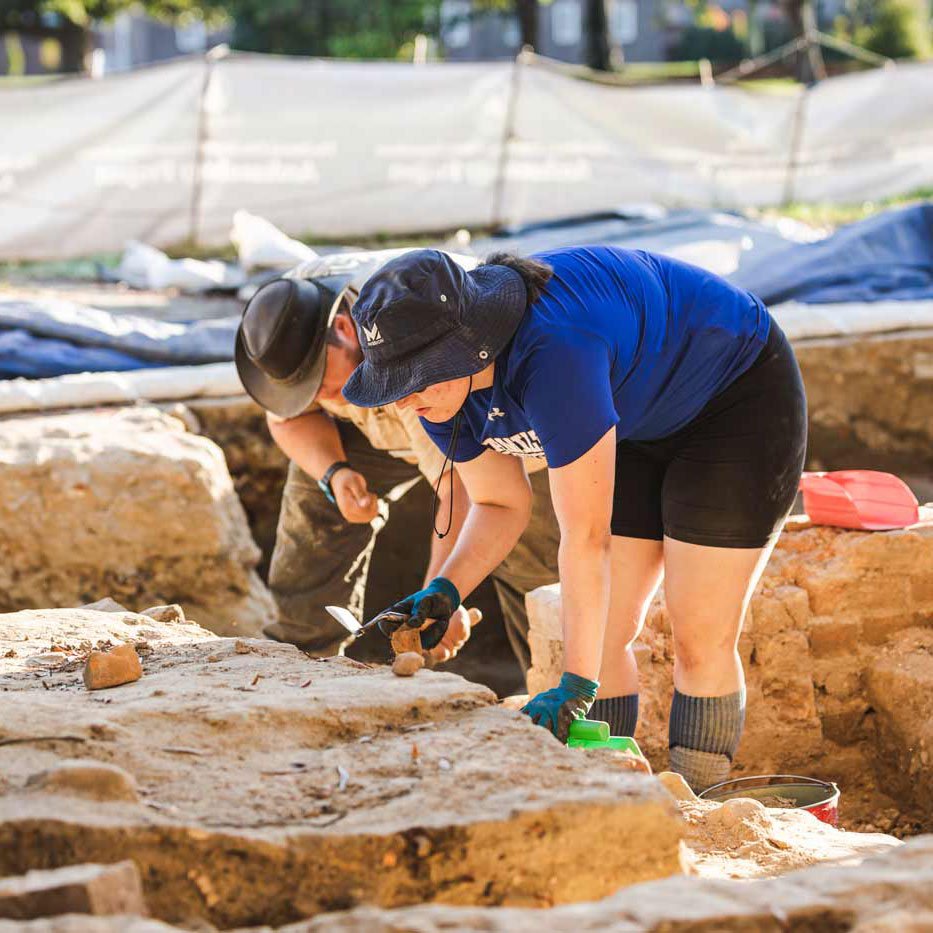
New Discoveries Every Day
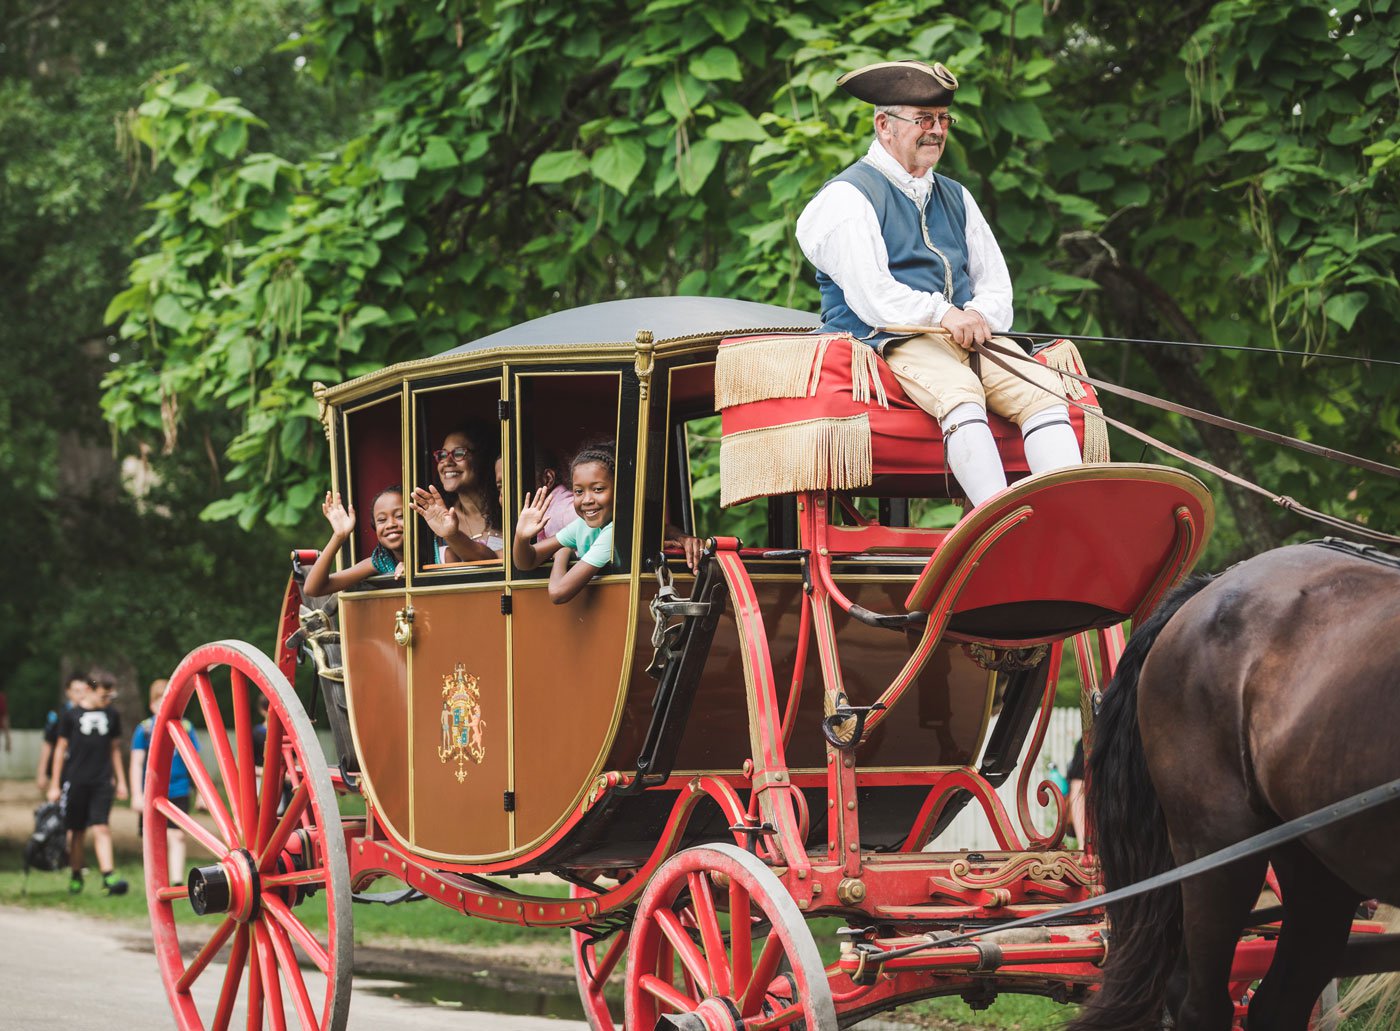
Unforgettable memories blooming this spring
Stirring performances, elegant historic gardens, groundbreaking art exhibits, and charm for miles. Welcome to Spring in Colonial Williamsburg.
Get TicketsRead the Blog
The Revolution is ongoing. Keep up with what’s happening behind the scenes, get tips on the best things to see and do now, and delve into surprising stories of life in the time of America’s founding.
Learn
Plan Your Visit
Explore by Interest


The Revolution Needs You.
Your tax-deductible gift to Colonial Williamsburg will directly support our mission: “that the future may learn from the past.” Your generosity advances our preservation, education and civic engagement priorities, ensuring our impact across the nation and around the globe.
Make Your Donation